Environment Setup for Deep Learning
Framework
PyTorch
We will use PyTorch on Python 3.6 as our main deep learning framework for the lab sessions for now. Later, we may expand these lab sessions with other popular deep learning frameworks such as TensorFlow and Theano. Your helps for adopting other frameworks or for enriching the lab materials are always welcome!
Jupyter Notebook
We will provide a Jupyter (iPython) Notebook file to practice some examples for each part of tutorials.
Environment
JupyterHub on GT GitHub
We prepared a server with a GPU on a GT server. You should be able to access the JupyterHub with the pre-copied Notebooks used in the entire lab sessions on your web browser. Please open your favorite web browser and move to the following address:
Then, you may see the following login page.
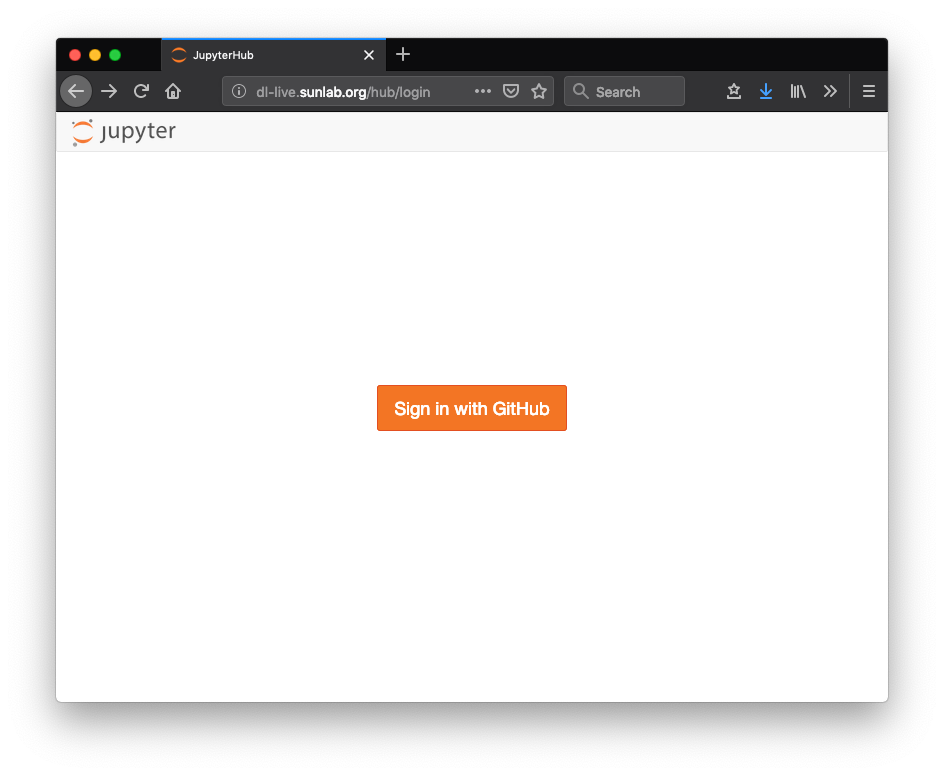
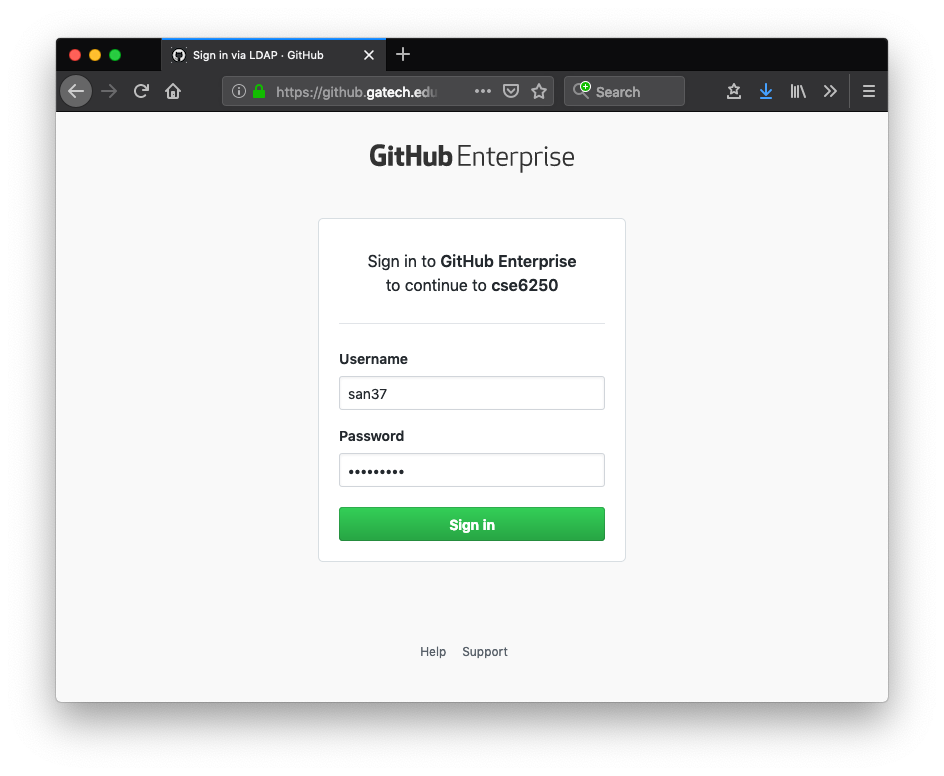
Click the icon 'Sign in with GitHub' and use your current GT username and password (not your personal github account) to login since it is built on the GT GitHub Enterprise.
Once you successfully login with your GT account, you can find the folders
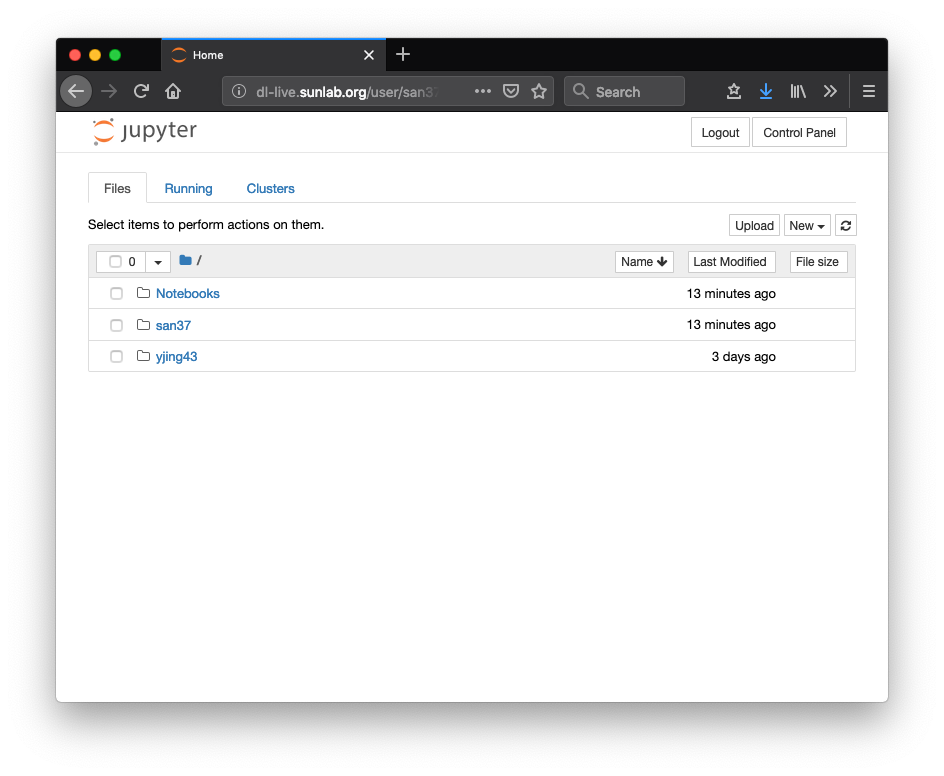
- Notebooks
- Notebook files used in the deep learning lab series.
- Possibly many
<gt-account>folders- Temporary folder for each user.
You can find the same notebook files used in the entire tutorials in Notebooks folder. Also, you can use <your-gt-account> folder as your temporary storage if you want to create a new notebook file for your own practice. Please note that we could clean up all user folders occasionally without any notice.
Native
You can also use your native local machine as your environment if you want to.
Python Backend
We recommend you to use Anaconda for your Python backend (the tutorial notebooks are based on Python 3.6).
GPU acceleration
If you have a proper NVIDIA GPU(s) with a driver installed, you just need to install the associated version of PyTorch binary, which contains CUDA Toolkit and cuDNN library already.
※ For MacOS: MacOS Binaries dont support CUDA, install from source if CUDA is needed after installing CUDA Toolkit (8.0, 9.0 or 10.0) and cuDNN first.
Install PyTorch 1.0
You will use PyTorch 1.0 throughout the lab series.
Linux and Windows
CUDA 8.0, 9.0, or 10.0
conda install pytorch torchvision cudatoolkit=<CUDA version> -c pytorch
For example, if you are using CUDA 9.0 toolkit,
conda install pytorch torchvision cudatoolkit=9.0 -c pytorch
CPU only
conda install pytorch-cpu torchvision-cpu -c pytorch
macOS
CPU Only
conda install pytorch torchvision -c soumith
Mac users who want to use your GPU, you will need to build PyTorch from the source. Here is a good blog post about it (link).
Install using pip
Please refer to PyTorch get started page.
Notebooks
If you want to download all notebook files to your local:
git clone https://github.com/ast0414/CSE6250BDH-LAB-DL.git
For more details, please refer to the official homepage of PyTorch.